
Integrating solar panels into your home or commercial setup requires reliable connections. For DC wiring in photovoltaic (PV) systems, the MC4 connector has become the industry standard due to its weatherproof and secure design. If you need to extend cables or create custom-length strings, knowing how to properly connect PV cable to MC4 connectors is an essential skill.
This step-by-step guide will walk you through the process of connecting 4mm² (or 4mm) PV cable to MC4 connectors, ensuring a safe and long-lasting link for your solar energy system.
Tools and Materials You Will Need:
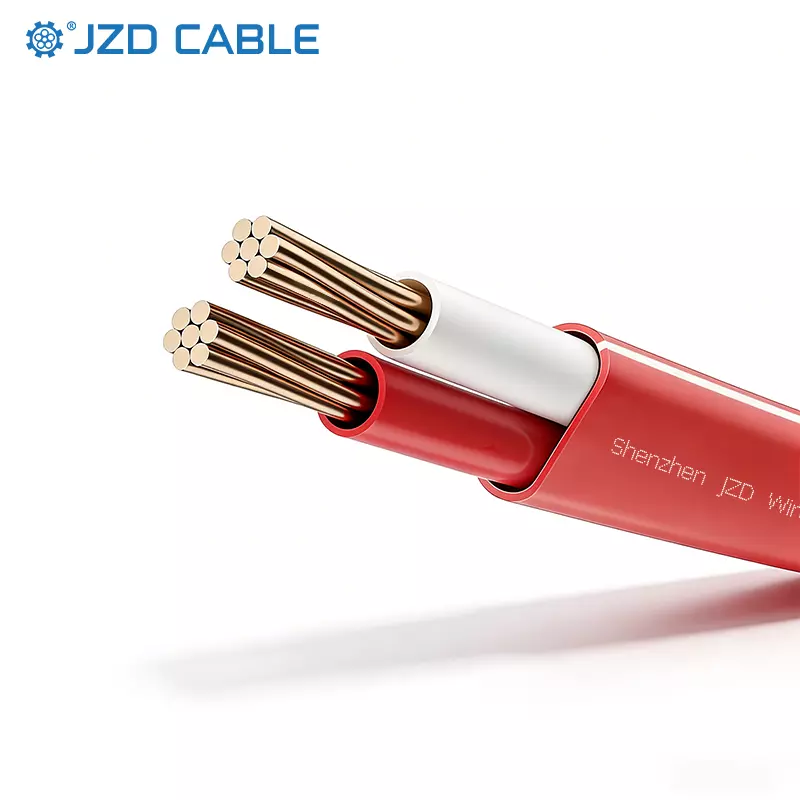
- 4mm² PV Cable (of your required length)
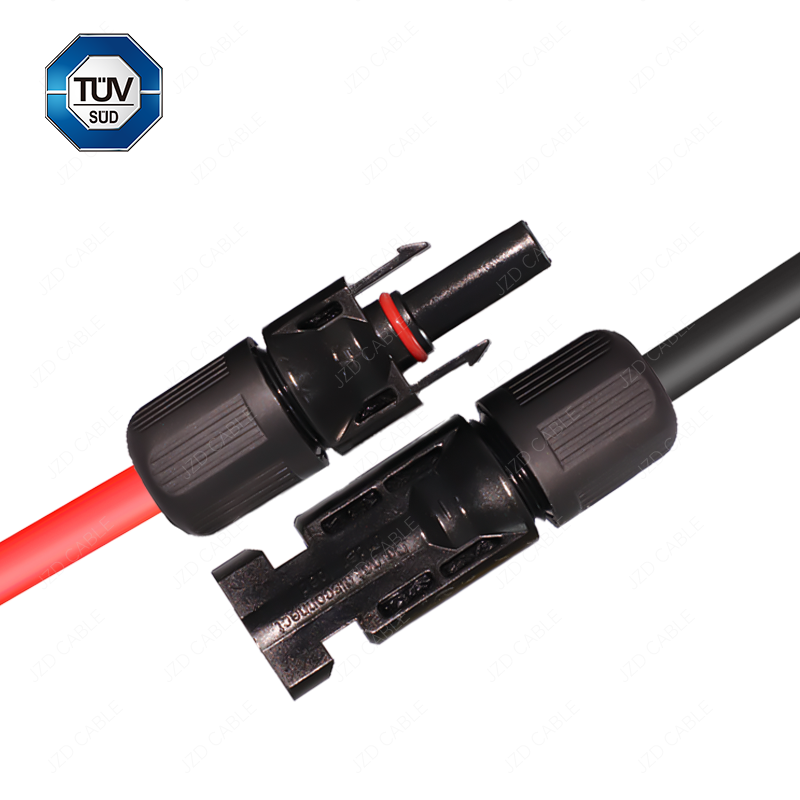
- MC4 Connector Set (male and female)
- Wire Strippers
- MC4 Crimping Tool
- A Multimeter (for final testing)
- About 5-10 minutes of your time
Step-by-Step Connection Guide:
1. Prepare the Connector and Cable
Start by sliding the nut and the rubber sealing gasket onto the PV cable. It’s crucial to do this before crimping, as you won’t be able to attach them afterwards. Mark the cable to indicate how far the stripped conductor should be inserted into the connector.
2. Strip the PV Cable Insulation
Use your wire strippers to carefully remove a small section of the outer insulation from the end of the 4mm PV cable, exposing the inner conductor. Be careful not to nick the copper strands.
3. Crimp the Connector Contact
Insert the exposed conductor into the metal contact (either male or female). Using the dedicated MC4 crimping tool, firmly crimp the contact onto the cable. A proper crimp provides a solid mechanical and electrical connection. Ensure the crimp is tight and secure.
4. Assemble the Connector Body
Once crimped, push the contact into the main plastic housing of the MC4 connector. You should hear a distinct “click” sound, indicating the contact is locked securely in place inside the housing.
5. Secure the Seal
Now, slide the rubber sealing gasket down so it sits flush against the end of the cable insulation. This gasket is vital for creating a waterproof and dustproof seal. Finally, thread the nut onto the connector body and tighten it firmly. This compresses the gasket and prevents the connector from rotating, which could damage the connection.
6. Repeat for the Opposite Connector
Follow the exact same steps (1-5) to attach the complementary MC4 connector (male or female) to the other end of your cable or to a second cable you wish to connect.
7. Test the Connection
Safety First: Before connecting your newly assembled cable to any live solar panel or charge controller, test it with a multimeter. Set the multimeter to continuity mode. Connect the probes to the two ends of your cable assembly. A successful connection will show continuity (often a beep or near-zero resistance). This verifies your work and ensures a stable connection for years to come.
Pro Tip: Always use the newer MC4 standard connectors, not the older MC3 type, for compatibility with modern solar panels. For AC-side connections from the inverter to the grid, different cables and protection devices are required, such as 3-core or 5-core AC cables depending on your system’s phase configuration.
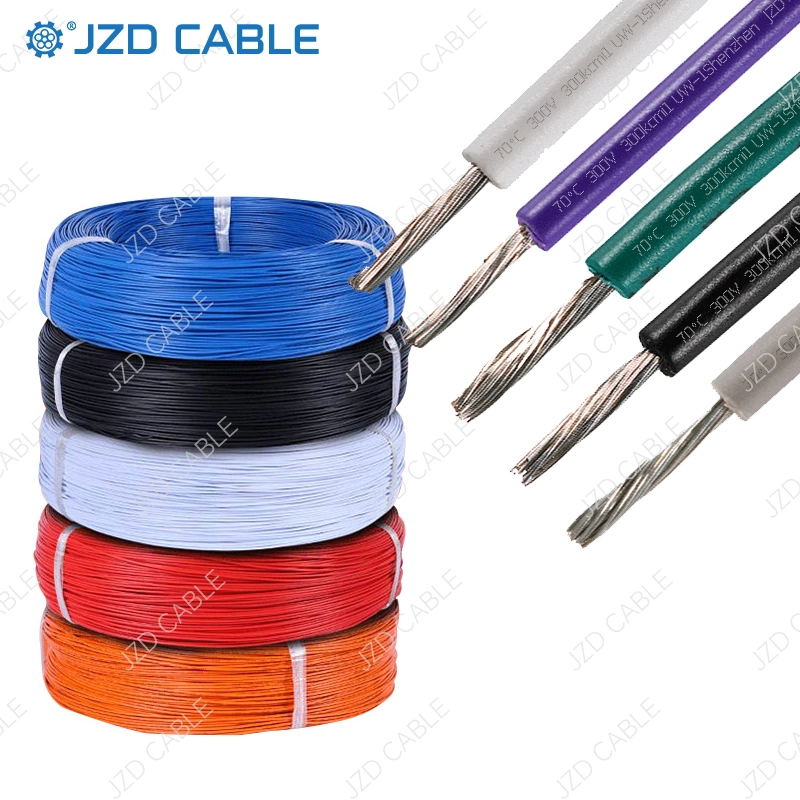
Why Choose Reliable PV Cables?
A secure connection starts with high-quality cable. At JZD Cable, we manufacture durable and certified 4mm PV cables designed to withstand harsh environmental conditions, ensuring optimal performance and safety for your solar investment.
For premium photovoltaic cables, including 4mm² and 6mm² sizes, and other electrical wiring solutions, visit our website at jzdcable.com or contact our team.